Current PvP Meta Overview
Winning in YBA PvP is rarely just about landing bigger combos. The best Stands control space, force defensive mistakes, escape pressure, or turn one confirmed hit into a decisive sequence. This your bizarre adventure pvp tier list focuses on practical performance in 1v1s, Steel Ball Run, and team fights.
Rankings can shift after balance patches, especially when a rework changes cooldowns, hitboxes, or counterplay. Crazy Diamond Requiem and Diver Down are especially new additions, so their long-term placement is still uncertain.
| Tier | What it means in PvP | Best use case |
|---|---|---|
| S | Dominant kits with powerful control, pressure, or survival | Ranked duels and competitive SBR |
| A | Reliable and dangerous, but more matchup-dependent | Skilled players and flexible builds |
| B | Functional picks with clear strengths and weaknesses | Learning fundamentals or niche builds |
| C | Can work, but often needs favorable conditions | Casual PvP and specialist playstyles |
| D | Outclassed or difficult to justify competitively | Collection, experimentation, or progression |
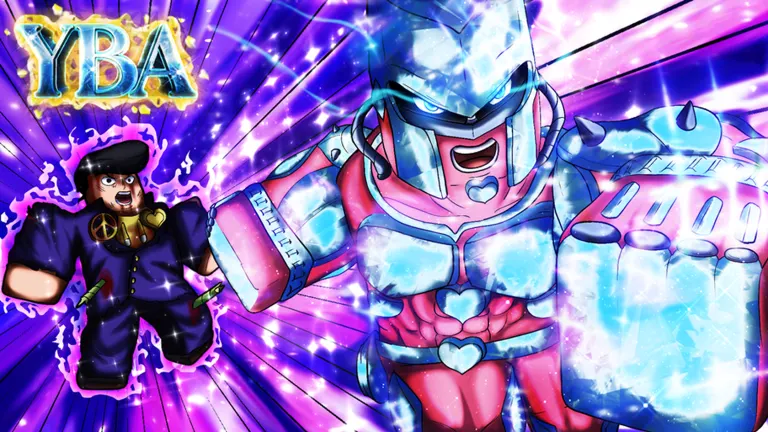
S-Tier Stands
S-tier Stands have tools that make opponents change their entire game plan. Their strength is not only damage: they can deny attacks, create unavoidable pressure, or control a fight even when outnumbered.
| Stand | Why it ranks highly | Main caution |
|---|---|---|
| Gold Experience Requiem | Return to Zero can erase enemy momentum, remove several debuffs, and create major swing turns | Requires substantial skill-point investment |
| Chariot Requiem | Pilot utility, area control, defensive pressure, and strong crowd disruption | Important moves have long cooldowns |
| D4C Love Train | Strong melee pressure and Love Train can deny or redirect damage in critical moments | Tusk can bypass Love Train |
| King Crimson Requiem | Excellent close-range threat, counters, and punish potential | Less comfortable in large chaotic fights |
| Killer Queen: Bites the Dust | Dangerous setups and strong value against groups | Needs timing and planning |
| Made in Heaven | Exceptional mobility and pressure against slower opponents | Lower base damage than many brawlers |
GER is the safest choice for players who want answers to many common threats. Return to Zero can stop enemy offense before it becomes a full combo, while healing and recovery options help GER survive long rounds.
Chariot Requiem excels when players are forced to fight nearby. Its broad pressure and control tools are valuable in team modes, though burning every cooldown at once can leave you exposed.
D4C Love Train is one of the most punishing defensive picks. When Love Train is active, opponents must respect it rather than blindly continue their offense. However, do not treat it as invulnerability in every matchup; Tusk users can challenge it directly.
A-Tier Stands
A-tier picks can absolutely win against S-tier opponents, but they demand sharper spacing, confirms, and matchup knowledge. These are excellent choices if their rhythm fits your preferred spec.
| Stand | Strength | Best for |
|---|---|---|
| Crazy Diamond | Healing, walls, counters, and solid combo potential | Balanced close-range players |
| Star Platinum | Strong melee confirms and threatening burst damage | Aggressive duelists |
| Star Platinum: The World | Time-stop access and reliable pressure | Players learning time-stop confirms |
| Scary Monsters | Versatile transformation kit and aggressive coverage | Players who like constant forward pressure |
| King Crimson | Time Erase enables evasions and punishes | Spacing-focused players |
| Purple Haze | Dangerous damage-over-time and team-fight pressure | Players comfortable with volatile kits |
| Tusk Act 4 | Strong options at close, mid, and long range | Flexible players with good matchup knowledge |
Crazy Diamond is a dependable all-rounder. Its healing can extend fights, while walls and counters can disrupt predictable opponents. It does not always finish opponents as easily as top-tier burst Stands, so you need to capitalize when you gain control.
Star Platinum and Star Platinum: The World remain threatening because close-range pressure is always valuable. The World version adds more range and time-stop utility, but both reward players who understand parries, M1 pressure, and clean confirms.
Scary Monsters has a large toolkit but can consume many skill points. Plan your build before committing to a spec, because an overloaded skill tree can leave your character without essential durability or mobility upgrades.
B-, C-, and D-Tier Picks
Lower tiers are not automatic losses. A good player can still win with a familiar Stand, especially in public servers or team modes. The difference is consistency: top picks recover from mistakes more easily and have clearer answers to common PvP situations.
| Stand | Tier | Why players still choose it |
|---|---|---|
| Aerosmith | B | Long-range zoning and strong range after its rework |
| Magician's Red | B | Burn damage and combo potential with the right spec |
| Silver Chariot | B | Low skill-point cost and effective speed pressure |
| C-Moon | B | Gravity disruption and unusual movement options |
| Gold Experience | B | Healing, frog pressure, and nuisance tools |
| Anubis | C | Counters and combo extensions for disciplined players |
| Hierophant Green | C | Ranged pressure for players with strong aim |
| Soft & Wet: Go Beyond | C | Go Beyond creates meaningful burst threat |
| Cream | D | Former pressure tools are less consistent after changes |
| Killer Queen | D | Base kit lacks the impact of Bites the Dust |
| Hermit Purple | D | Predictable attacks and limited damage ceiling |
| Beach Boy | D | Very limited defensive and offensive options |
Aerosmith is a reasonable zoning option, especially when you can exploit range and force opponents through dangerous space. It struggles when a fast Stand gets close and maintains pressure.
Silver Chariot is a good budget build because it leaves room for a strong spec and character upgrades. Its armor choices create a tradeoff: extra speed helps offense, but reduced safety can make mistakes costly.
Avoid judging a Stand only by one clip or a single matchup. Community opinions often differ because a Stand that feels weak in ranked 1v1s may be excellent in Steel Ball Run, where area denial, mobility, and team pressure matter more.
Use this quick selection process before investing in a build:
- Pick GER, Chariot Requiem, or D4C Love Train if you want broadly reliable competitive value.
- Pick Star Platinum, Crazy Diamond, or King Crimson if you prefer reactive close-range play.
- Pick Tusk Act 4 or Aerosmith if you want to influence fights from farther away.
- Pick Made in Heaven, Scary Monsters, or Purple Haze for high-mobility or aggressive team-fight pressure.
- Keep an evolution path in mind: Tusk Acts, Requiem upgrades, and Love Train can substantially change a Stand’s value.
FAQ
What is the best Stand on this your bizarre adventure pvp tier list?
Gold Experience Requiem, Chariot Requiem, D4C Love Train, King Crimson Requiem, Killer Queen: Bites the Dust, and Made in Heaven are strong top-level choices. The best one depends on whether you value denial, mobility, area control, or close-range confirms.
Is Star Platinum: The World good for PvP?
Yes. Star Platinum: The World is a strong A-tier choice because it combines reliable melee damage with time-stop pressure. It is also more forgiving than several technical Stands, provided you learn when to confirm damage instead of using time stop recklessly.
Is Tusk Act 4 worth using?
Yes. Tusk Act 4 is highly versatile and can threaten opponents from multiple ranges. It is especially valuable against D4C Love Train because it can bypass that defensive mechanic, but experienced opponents can punish predictable projectiles and setups.
Are lower-tier Stands useless?
No. Lower-tier Stands can still succeed with player skill, favorable specs, and matchup knowledge. They are ranked lower because their tools are usually easier to block, interrupt, predict, or outdamage than the strongest options.
Should I choose a Stand based only on tier?
No. Use tiers as a starting point, then choose a Stand that matches your preferred range, spec, and game mode. A practiced A-tier build will usually perform better than an unfamiliar S-tier build.